
Capacitance is the measure of a material’s ability to store electricity. Technically, Capacitance is a measure of how much electric charge something can store per unit of voltage. Think of a capacitor as a tiny rechargeable container for electric energy.
It consists of two conductive plates separated by an insulator. When you apply voltage, positive charge collects on one plate and negative charge on the other. The more charge it can hold for a given voltage, the higher its capacitance.
Our bodies can store electric charge as well, allowing us to measure when someone touches an electric circuit (because the capacitance changes). This allows for some truly interesting modes of interaction and opens up a vast material space for digital interaction. Anything that is reasonably conductive can be used as a button simply by making contact with it. A copper wire, a brass sculpture, conductive thread or fabric–pretty much anything that conducts electricity can be used to interface with digital programs. Even water can be connected to a microcontroller with a wire such that the computer can sense when someone touches the water. There are so many possibilities with capacitive touch.
A couple of microcontrollers have a bit of circuitry connected to some of their pins that makes them set up for capacitance sensing. The Teensy 3.X series were my favourite microcontrollers for touch applications because of this feature. That said, we can use a simple, cheap stand-alone capacitance module to add touch sensing to any digital input. Here are three different touch sensor modules that do pretty much the same thing:
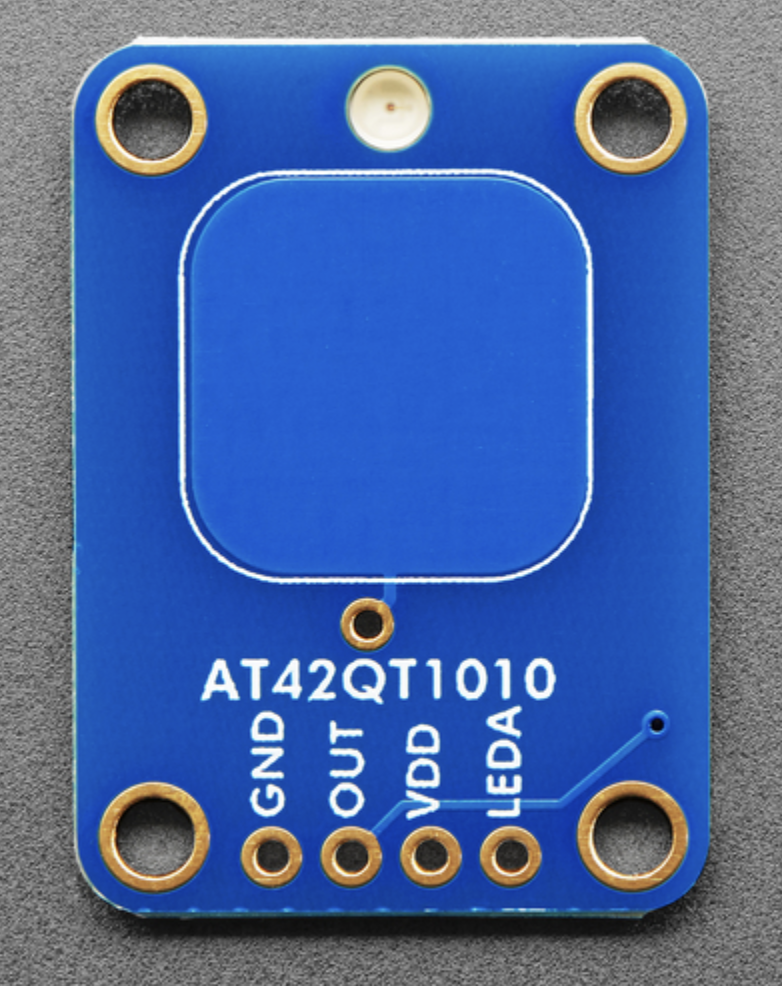
Adafruit’s touch boards (momentary and toggle) are wonderful. They both let you connect an LED that lights up when the board detects touch (useful as an indicator). They also have a connection point for attaching wire and other materials. Sparkfun has a similar board. These are not the cheapest options.
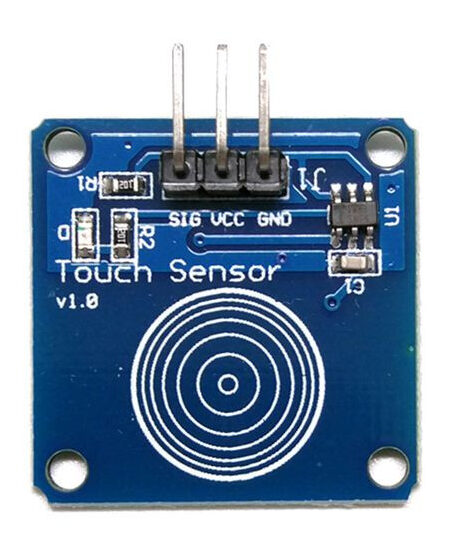
These generic modules are similar to the Adafruit and Sparkfun modules, but without the dedicated LED pin (there is an on-board led). A bit cheaper, and great for most cases.
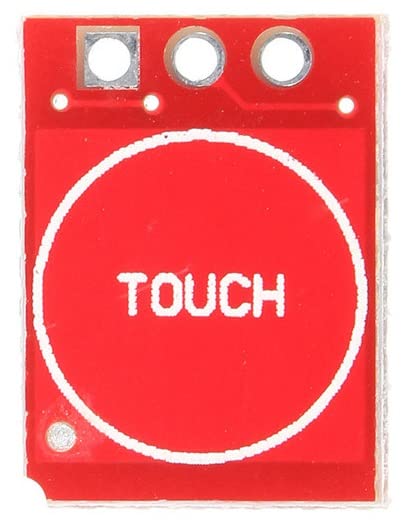
These modules are the cheapest. They are small, they have an LED on the back, and they can be switched to work as a button or a toggle (by soldering 2 pads together). They are lower quality and produce a noisier signal, but they are still good.
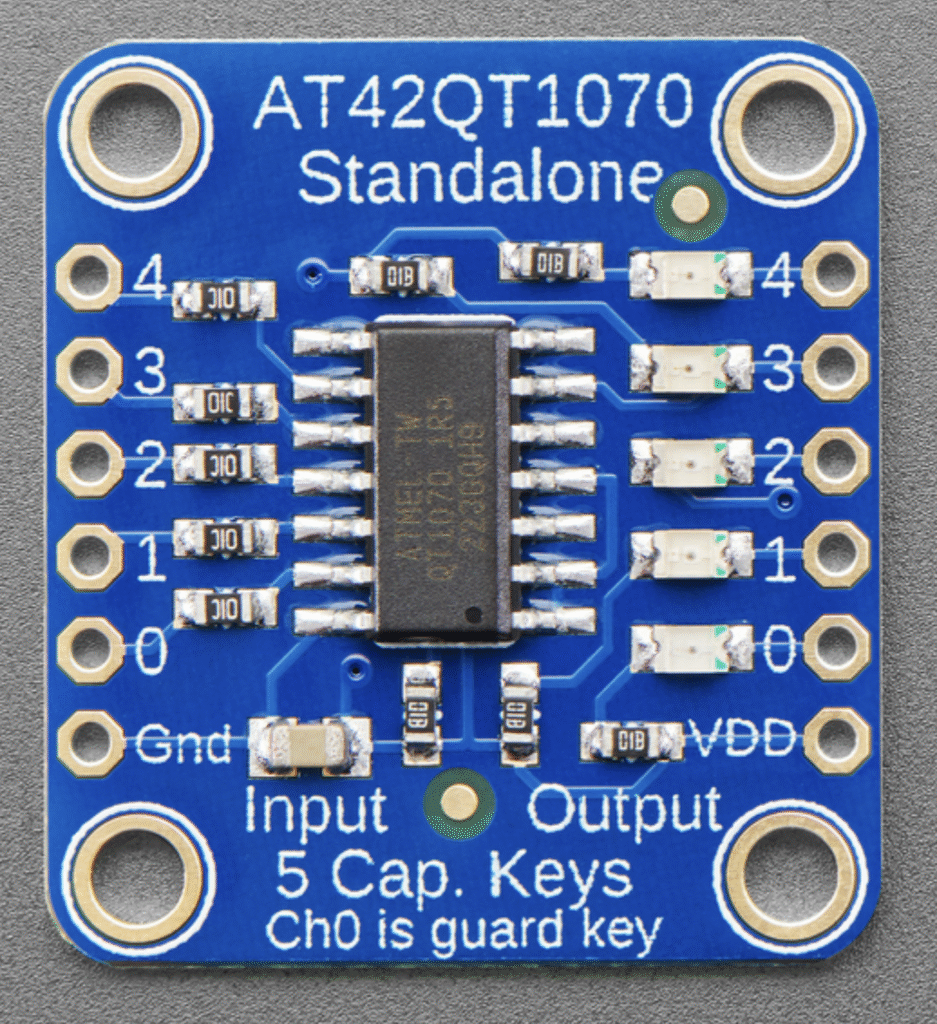
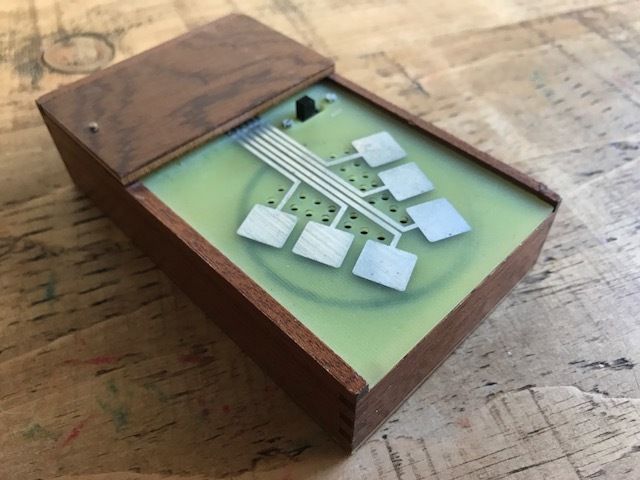
These Adafruit modules let you connect up to 5 touch connections, very useful for projects with multiple touch connection points.
connecting the modules
For all of the above modules, you will need to connect to both the ground (GND) and power (VDD or VCC). Then connect the output pin to whatever pin on the arduino is set up as a digital input pin.
practical considerations
- Pad size: larger pad → more sensitivity. For fingertip detection, a few cm² is common.
- Ground reference: keep a clean ground. A ground plane behind the pad (on a PCB or a nearby copper piece tied to GND) improves stability.
- Shielding: put a grounded ring around the pad to reduce false triggers.
- Noise: keep sensor wiring short and away from motors/AC lines.
- Debounce / filtering: software debounce, moving average, median filters or simple thresholds can reduce chatter.
- Environmental changes: humidity and temperature affect sensitivity; use auto-calibration if possible.